CLICK HERE TO PURCHASE IN THE E STORE!
_____________________________________________________________________
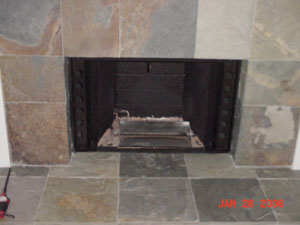
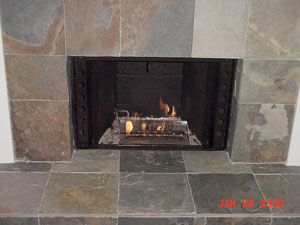
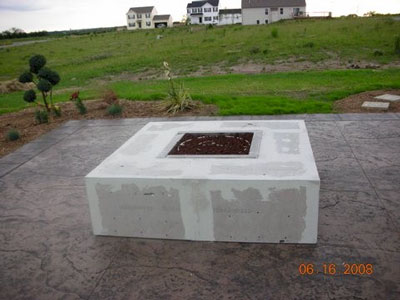
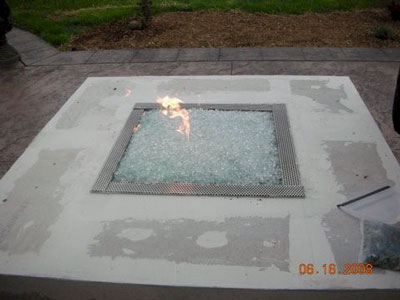
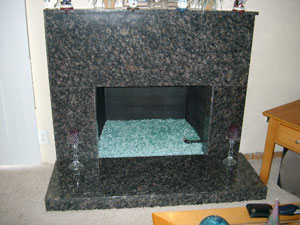
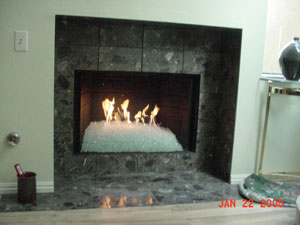
Click "HERE" or on the picture below to see how this started and finished, very simple and very nice
 _____________________________________________________________________
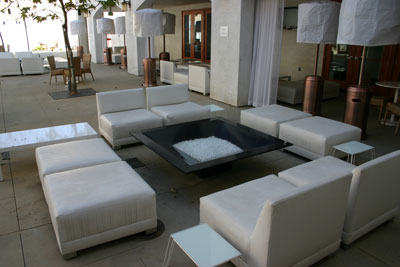
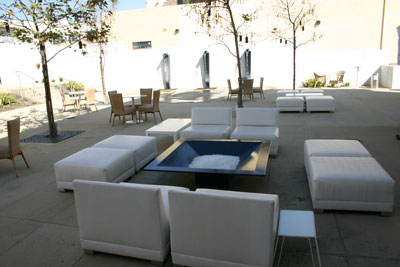
We provided a total of 3 electronic ignition systems and Clear Base Glass for this great outdoor restaurant in Arlington Texas.
Besides the fire pit we also helped correct there other fire pit - check it out on our famous "How Not To Do it" page.
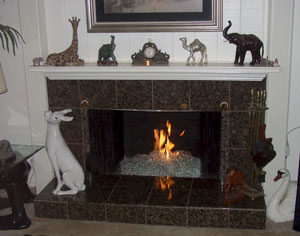
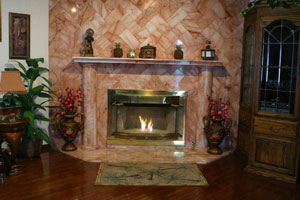
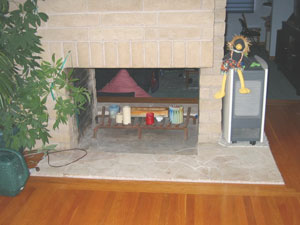
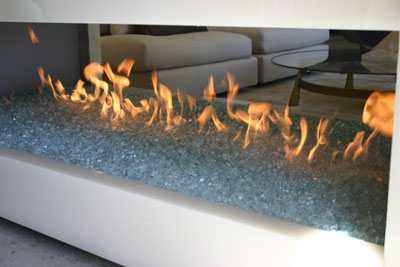
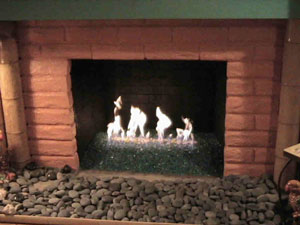
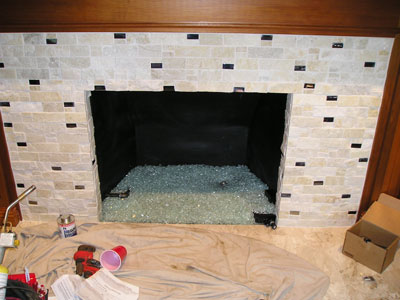
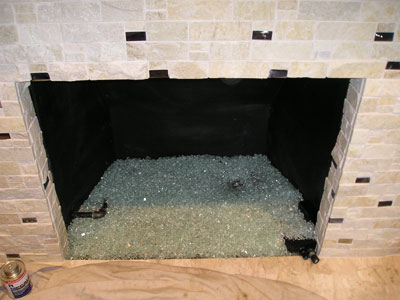
This next fireplace comes to us from Robert Stauffacher, who used Clear Base Glass FireGlass. Robert was also kind enough to provide some fee-back, here is what he had to say,
"We are so HAPPY with our new den fireplace...I suggest to any potential customer to talk with Ed and get an itemized bid from Moderustic. If there is still a question take that Itemized bid and shop around. I do not think the quality of product, quality of finished installation and customer service can be beat.
Here is Larry's backyard with the custom burner installed below a fill of 1/4" Clear Base Glass FireGlass.
Clear Base Glass FireGlass and 2 lbs of Gold Base Glass.
Clear Base Glass and Clear Pyrite Base Glass, Clear Pyrite Base Glass over Clear Base Glass
Clear Base Glass with Evergreen Reflective Base Glass above and below.
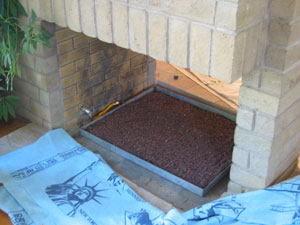
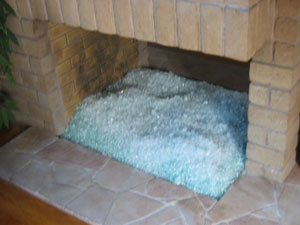
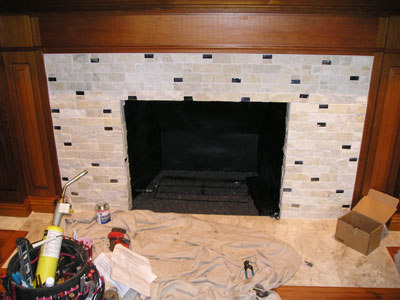
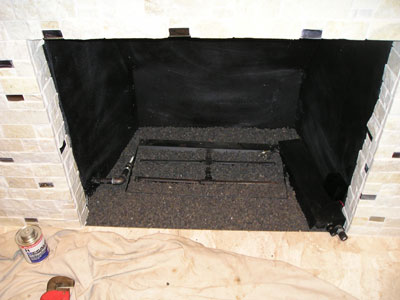
Clean and paint. And the final step, pour and light. Clear Base Glass with Blue Green Base Glass on top.
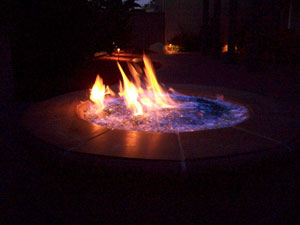
Below is a fire pit with a Clear Base Glass with Azurlite Base Glass and Starfire Base Glass on top.
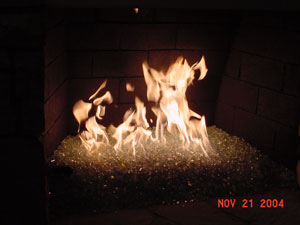
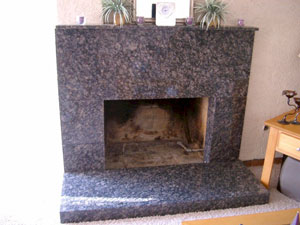
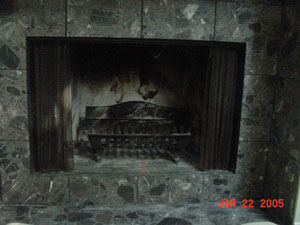
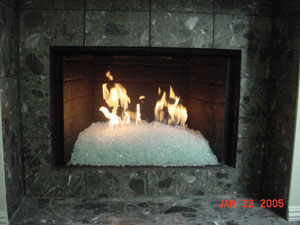
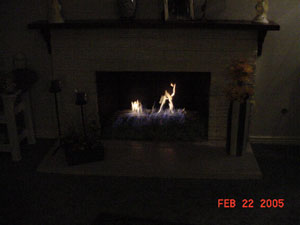
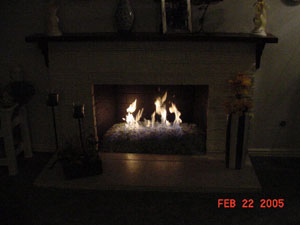
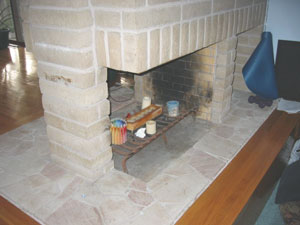
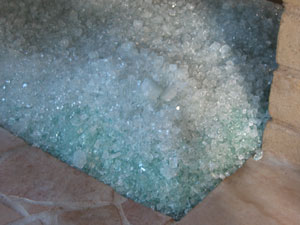
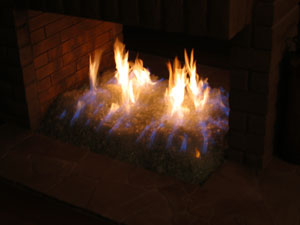
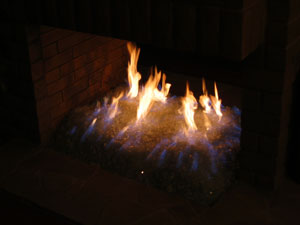
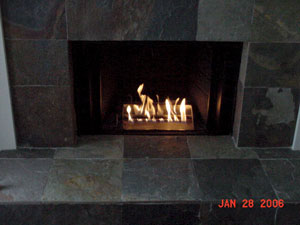
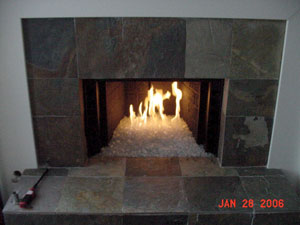
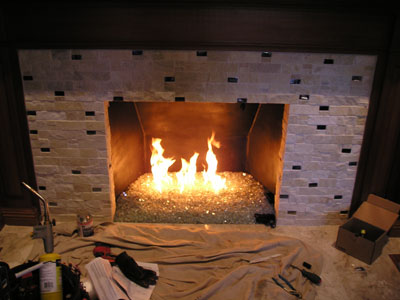
Above, this is how most fireplaces start. Below is a Clear Base Glass with a double burner.
CLICK HERE TO PURCHASE IN THE E STORE!
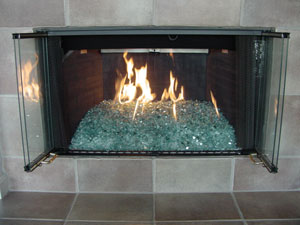
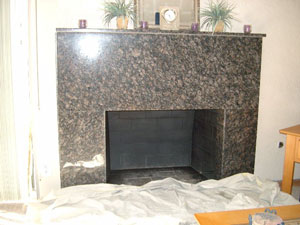
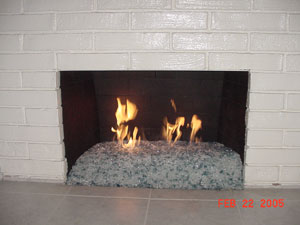
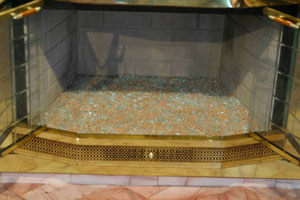
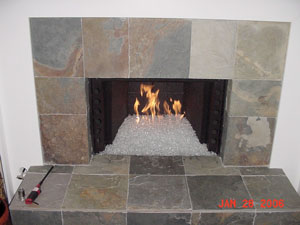
Again this is how most fireplaces look after you remove the doors and or screens. And below is a Clear Base Glass with Ford Blue Base Glass over the top
Below is a Clear Base Glass with Coral Orange Topping as a Topper.
The pictures below are of John Hanson in Northern California and he did a pan burner we provided and installed it himself. A Clear Base Glass with 3/4" Clear Base Glass on top. Here is how it all started.
The bottom of the pan goes in. The top goes on and you light it.
Now the glass.
And now the magic.
This is how the pan started. There you have it, simple as that. Great job John Hanson!
The 3 lower pictures have a Clear Base Glass with Ice Ice Ice Topper on top. This fireplace also has a new surround frame that we now manufacture also found in the Surrounds page.
CLICK HERE TO PURCHASE IN THE E STORE!
The fire place below has Clear Base Glass, Azurlite Base Glass and Azurlite Reflective Base Glass.
The 2 pictures below are a Clear Base Glass with a dash or Plum Topping.
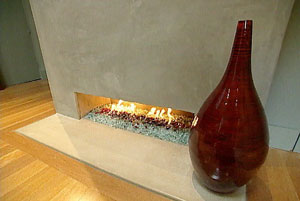
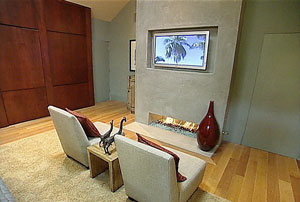
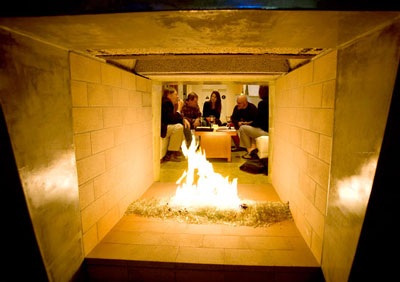
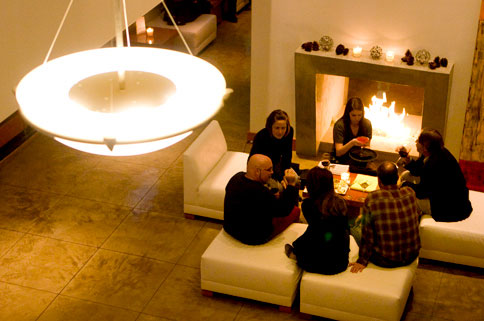
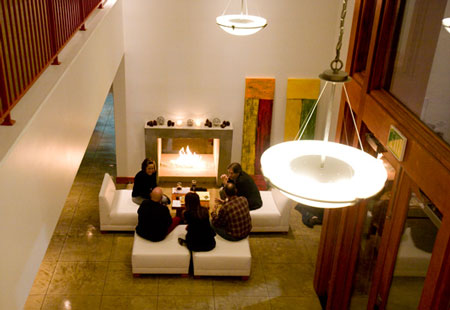
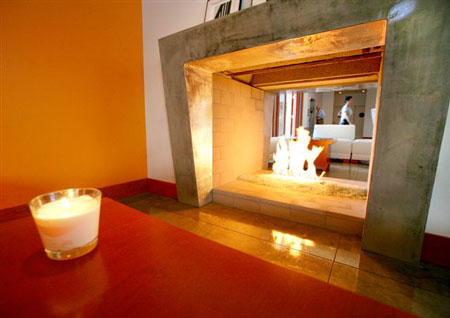
We are now starting a page for some of our television promotions we have sponsored this season. The first is: Zen-Inspired Master Bedroom.
Here are a few pictures and the rest can be seen on the link above.
This fireplace has:
1/4 Clear Base Glass, 1/4 Starfire Base Glass, 1/2 Clear Base Glass, 1/2 Starfire Base Glass, Medium Amber Topping and Topper, Red Topping and Topper and Orange Light Topper.
The fireplace below has Clear Base Glass, Gold Base Glass and Black Base Glass. A little drywall and paint and here you have one cool fireplace!

The fire pit below has Clear Base Glass with our very own ICE ICE ICE Topper!
CLICK HERE TO PURCHASE IN THE E STORE!
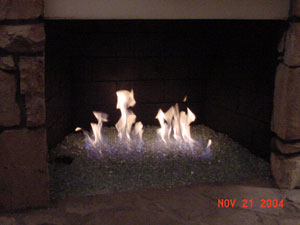
The fire pit below had Clear Base Glass and one really cool flame effect! This is in Etiwanda California.
Here is a fireplace before and after with Clear Base Glass.
The fireplace below has Clear Base Glass installed and had a double burner which was converted to a triple for more flame effect.
The fireplace below has Clear Base Glass installed.
The 3 pictures below are all Clear Base Glass.
CLICK HERE TO PURCHASE IN THE E STORE!
The 6 pictures below show a self install with all glass using the original burner which didn't have a bad flame pattern. 1/8" Clear Base Glass was used as a base and then Starfire Base Glass was added to the surface saving money and it did look great. It's a simple as that.
This is in Yorba Linda California with a stainless steel surround and Clear Base Glass.
The 2 fireplaces below are the same fireplace! This fireplace started out with a brick face and Clear Base Glass. After a little black granite and some Clear Ice Topper, we have a very nice fireplace!
<
The fireplace below has a Clear Base Glass with Bronze Base Glass on top.
The fireplace below has Red Topping and a Clear Base Glass.
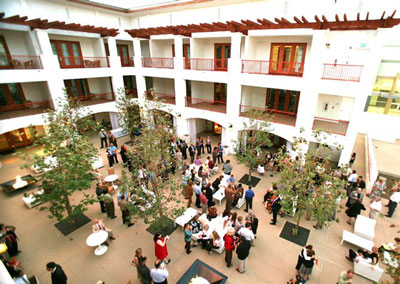
The fire pit and fireplace below are located at the hotel Casa 425 in Claremont California, downtown Claremont.
www.Casa425.com . The fireplace had a splash of
Clear Base Glass over a
ribbon burner with a remote control for a simple but elegant look. The fireplace is just inside the front doors as you enter to greet you.
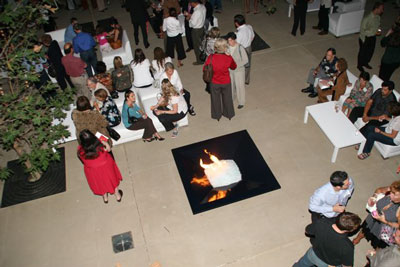
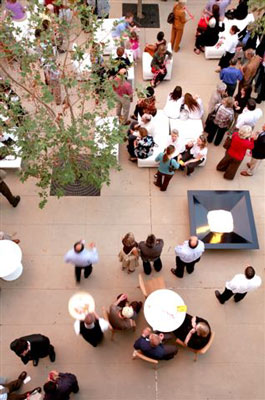
The fire pit below is also at the hotel Casa 425,
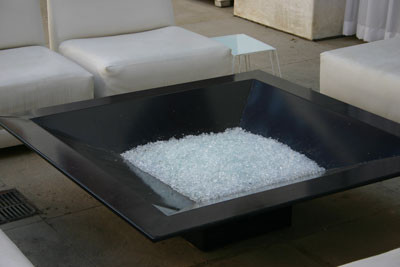
www.Casa425.com and is in the court yard at the hotel. There are 2 of the fire pits and they are 60" x 60" x 20" tall and they are powder coated black with a
Clear Base Glass installed over an 18 round stainless steel ring.
It's like Where's Waldo, can you spot the 2 fire pits below?
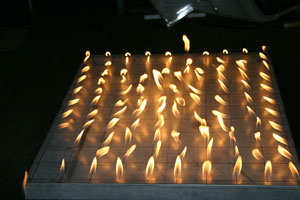
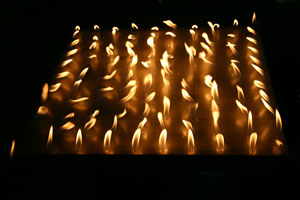
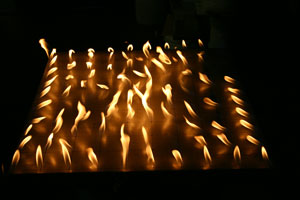
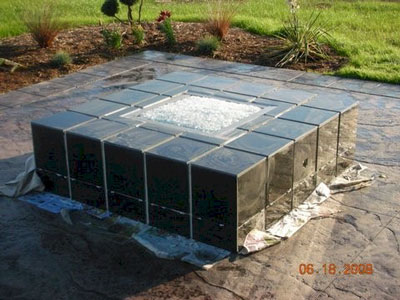
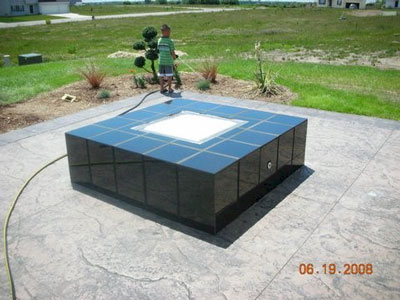
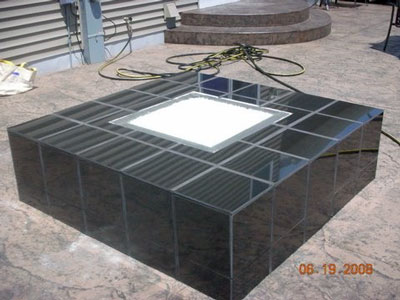
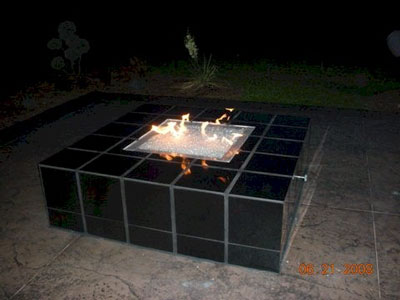
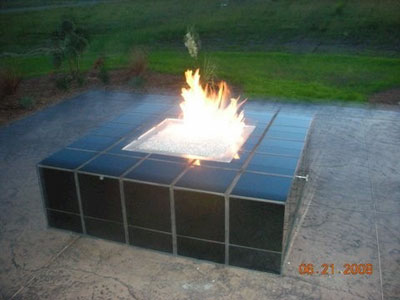
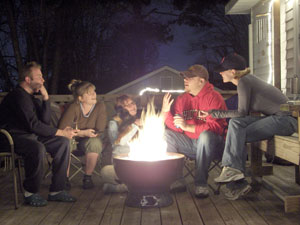
A homemade DIY backyard fire pit / table out for our customers in the Chicago burbs.
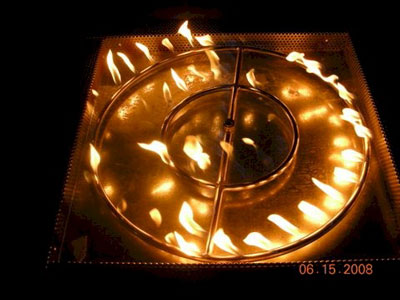
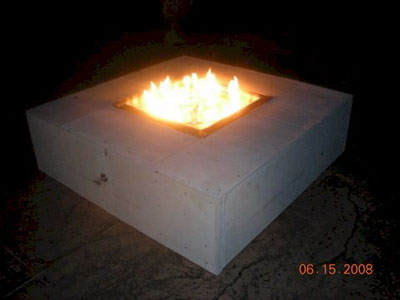
Night shots are better so that we can fully see the flame.
CLICK HERE TO PURCHASE IN THE E STORE!
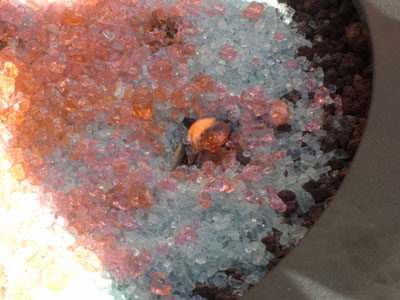
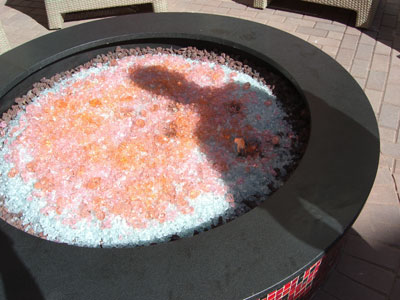
The fire pit below is in Glendale, Arizona at the Renaissance Hotel. We installed an electronic ignition with a 30" stainless steel ring. The glass use was a Clear Base Glass with Starfire Base Glass on top and topped with 42 lbs of Apricot Topper. These pictures were taken with the edges still exposed which were covered by a layer of Starfire Base Glass.
We have over the last few years helped design and and sold dozens of custom fireplaces. The one here was installed in Beverly Hills, California. We designed the fireplace, custom candle pan burner with electronic ignition. We used a Clear Base Glass for a simple a modern look. We will be posting the pictures as we have time in the near future. We did the fireplace not the white onyx. What we did does not show but it's what made the fireplace what it is, designED !
CLICK HERE TO PURCHASE IN THE E STORE!
On the left side you can see the gas connection which will soon be covered as well. On the right side the control cover will be covered as well. This propane pan burner was fitted with a remote control, radio frequency.
 |
 |
Now that your finished your ready for FIRE! Have your spouse lite it in the event they didn't follow the instructions! (just kidding again)!
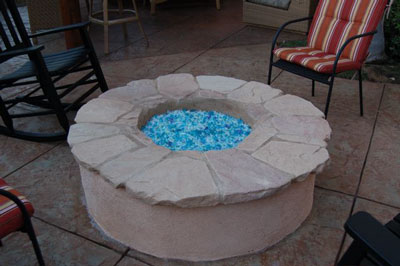
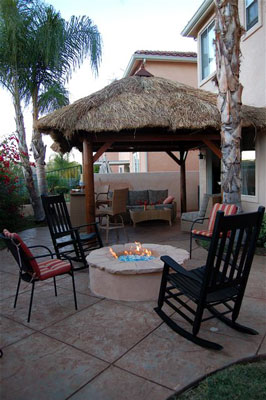
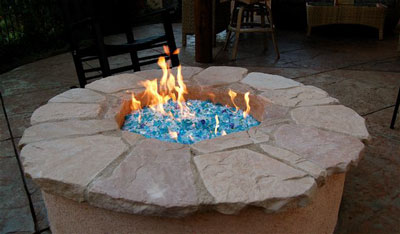
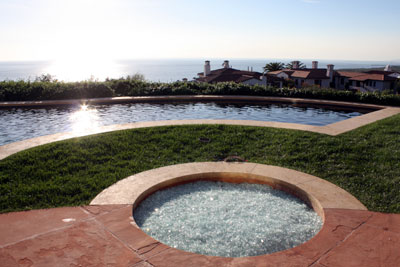
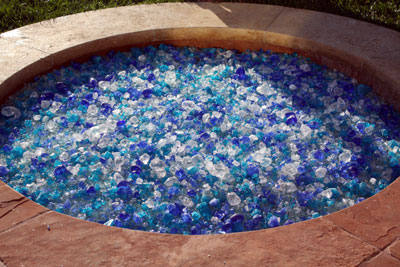
The fire pit below has a Clear Base Glass, Cobalt Blue Topper, Copper Blue Topper and Azurlite Base Glass for one very nice fire pit and back yard!
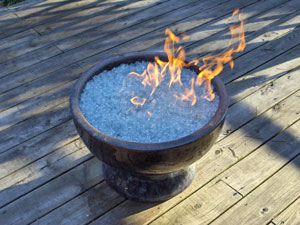
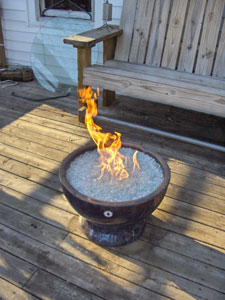
The Terra Cotta pot below is fed by natural gas and was topped with a 1 1/2" layer of Clear Base Glass over a bed of crushed lava rock.
The gas line was drilled from the bottom of the deck and the pot was placed on top
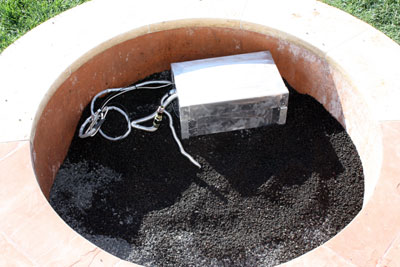
36" triple stainless steel burner ring
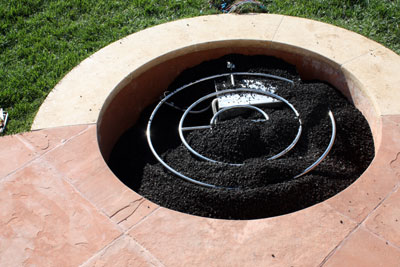
We will show your from beginning to end:
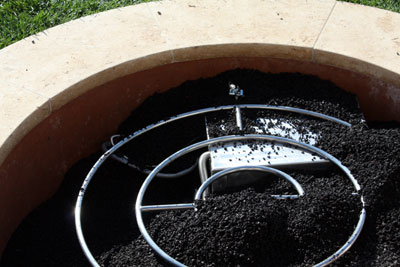
We built a double box to protect the equipment in the fire pit as well. The ring is now installed. The
electronics can be accessed if ever there was a failure of the equipment and you can access it from the surface. Before the equipment was 20 inches below the surface, not a very good idea!
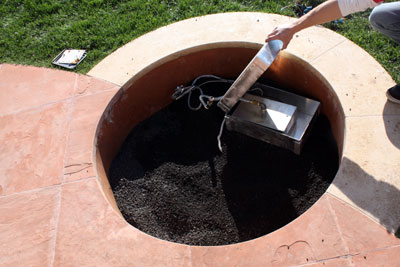
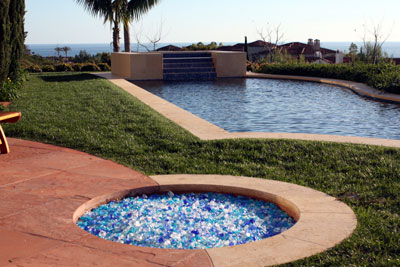
Now we poured the 144 lbs of
Clear Base Glass over the
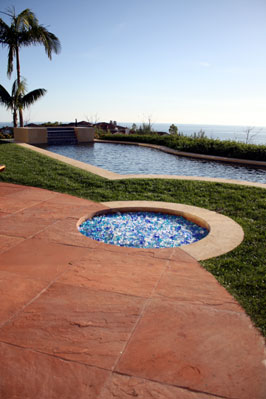
crushed lava. We only did the fire pit, not the view. That came with the home. But one very impressive view!
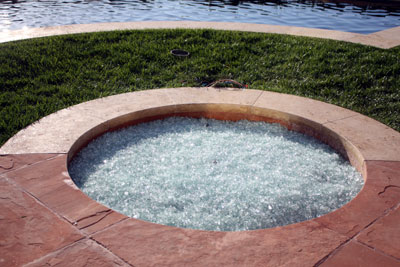
Then we spread the
Clear Topper,
Cobalt Blue Topper and
Copper Blue Topper over the
Clear Base Glass.
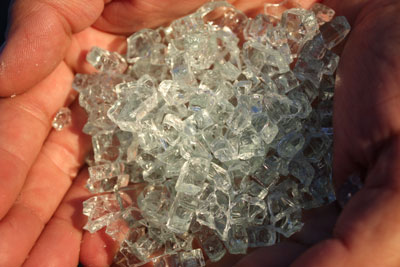
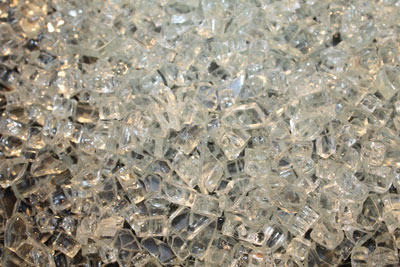
As you have looked at all of our pictures we would like you to know we use
Crystals as our
Toppers and
Toppings. We don't use "Recycled" glass, ever! We are actually the only company that produces
Crystals for fireplace and fire pits.
The fire pit below is in San Francisco California. They use one of out FPPK units.
Here you can see the simple construction. A local artist made the glass inlay top. Very cool!
We supplied the FPPK and the Clear Base Glass.
|
|
|
The next fire pit was build/ constructed by Rose Harms in Wyoming. Long story behind this one with what the plumbers were telling her and what actually happened. We will explain as we go.
Above and below you can see we had her install a gas line with a quick disconnect hose.
Here is what Rose had to say:
Hi Ed and Claudia,
Wanted to be sure I got the photos to you of our completed fire pit.
Here are the steps we went through:
Bought the brick/blocks (no lip on the stones) from Lowe's, put in circle, 3 rows high.
Bought the iron fire pit at Lowe's and placed on and inside fire pit. -note -it is iron, so I sprayed it with HIGH HEAT paint, in Copper. Wow!
got plumber to run natural gas from deck above (outlet for BBQ) and under the deck, ran down the deck post and he put in a Shut Off valve there.
It turns.
He ran a precise hole through the bottom off the fire pit to hold pipe for gas to the double ring burner (from Moderustic of course) and it is stainless
steel (no rust). At the bottom of the deck post is a flexible hose which goes over to the fire pit. It CAN be disconnected or even roll up and
shove inside fire pit (after it is cooled).
Note: you do need to chop off a piece of the block, or else just pull one out when you are using the
fire pit. (Kind of like Jenga -just pull out the stone, the others support the fire pit) Unless you can successfully saw off a piece of the stone.
Lit the burner to be sure it works well. It did.
We put in the 1" lava rock in the bottom of copper fire pit and then filled in the spaces with 1/4" lava rock. Should have used More! When we went to
cover the burner we were short on the fireglass. So we ordered more. Still looks beautiful.
Got rest of glass and made circles with the glass and it is beautiful. There are photos of it burning last night!! Lots of warmth on a typical
cool Wyoming evening.
Brick: $200, Fire Pit $79 on sale, double ring SS burner $126, glass -about $250, gas line -don't know yet but guessing $200. Maybe $750-800 total.
And -the way it is made, we could actually dismantle and move it. No mortar in stones. We are very happy with our fire pit and thanks to Ed and the gals
at Moderustic, we were able to make the right choice for glass and burner. Thanks Ed, Rebecca and Claudia. Very knowledgeable and helpful. Could not have managed
this without your guidance. We love being DYI-ers but directions are needed!! We appreciate all your help.
Rose and Doug Harms, Cheyenne Wyoming
Mind that the customers stacked their own bricks!
The glass that was used:
and the rest is history!
This was originally going to be propane but if you have natural gas, then use it if you can. It will cost less in the long run.
The next fireplace is from Chris Ackopiantz in Palos Verdes California.
Chris lives in a condo complex with only wood burning fireplaces. Chris received permission from his complex to add a propane fed fireplace. Burning wood is not only dirty and nasty, it is very unhealthful as well.
Here are his pictures from beginning to end:
The glass he used was a:
______________________________________________________________________________________________
We will show you how it came to life, CLICK on the picture below or HERE.

CLICK HERE TO PURCHASE IN THE E STORE!